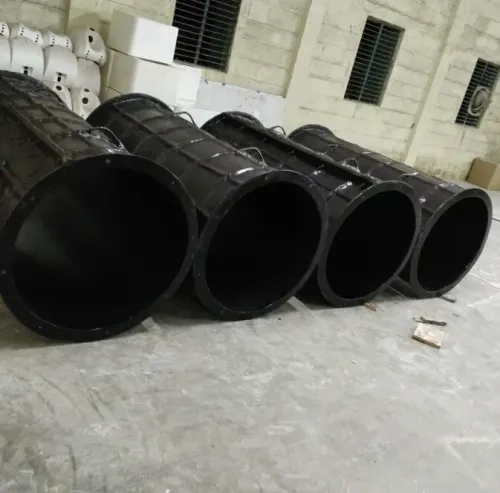
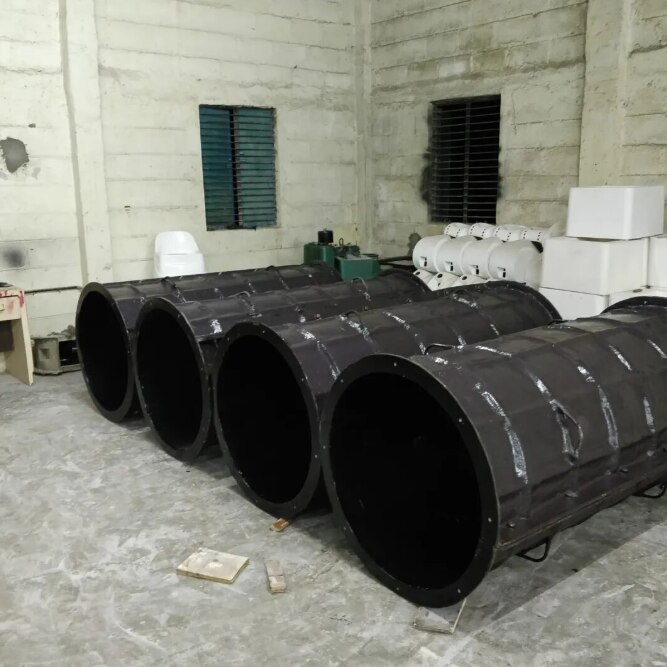
Concrete residue, cement dust, moisture and poor storage can change a mould’s surface, joint line or dimensions before the next pour. By following a fixed cleaning, inspection, repair and storage routine, you can protect the mould face and identify defects before they affect a column.
Key takeaways
- Clean cement paste before it hardens on the FRP surface.
- Classify marks before sanding or repairing the mould.
- Inspect joints, hardware and column dimensions after every task.
- Store moulds supported, dry and protected from Bengaluru weather.
Clean the Mould Before Residue Hardens
Clean the mould while cement paste is still soft. Delayed cleaning lets residue bond to the FRP face, so the next column can inherit raised marks, poor release or unwanted texture.
1. Immediately after stripping, remove loose concrete chips and grout with a plastic, hardwood or other non-metallic scraper. Hold the scraper nearly flat and push residue away from the gelcoat; do not lever against the shell.
2. Wash the face with clean water and a mild, non-abrasive detergent. Use a soft nylon brush or non-abrasive pad to lift cement dust, laitance, grease and old release-agent residue.
3. Rinse until no detergent or loosened cement remains. Pay attention to the split line, flange and locking-hardware recesses, where slurry collects and prevents full closure.
4. Dry the mould completely with a clean, lint-free cloth, then let trapped moisture evaporate before inspection or storage. Release agent spread over standing water or cement dust will print contamination onto the next concrete surface.
Never attack hardened buildup with a steel chisel, hammer, angle grinder, aggressive wire brush or uncontrolled heat. Use only a mould-compatible softening or removal method; harsh tools can chip the gelcoat or gouge the resin.
Cleaning FRP column moulds is part of how to care for FRP column moulds after construction tasks, not a substitute for release preparation. If scrubbing or solvent cleaning removes the existing release film, apply the specified release system again after the surface is clean and dry; excessive buildup can change dimensions and surface texture.
Separate Cosmetic Marks from Mould-Critical Defects
FRP column mould care starts with one decision: reuse the mould only if its shell, flange and mating face remain sound, stable and dimensionally true. A dull stain, light scuff or shallow scratch is cosmetic when it does not catch a fingernail, expose fibres or change the mould profile.
Inspect the entire face under strong, angled light. A mould-critical defect includes a crack, delamination, soft spot, exposed glass fibre, deep gouge, chipped flange, distorted edge or a raised cement high spot; each can print onto concrete, prevent proper closure or weaken the shell. Press beside suspicious areas and compare them with sound laminate.
Flexing, crunching or a hollow change in sound is a stop-use signal.
A cosmetic scratch is repairable only with a resin, gelcoat or repair system compatible with the original FRP mould. Before reuse, the repair must be fully cured, faired flush and polished or sealed to match the surrounding surface. A ridge, pinhole or different texture will appear on the finished column.
Reject the mould until a qualified repair is completed if the damage reaches the laminate, crosses a split line, affects a locking point or leaves either half unable to close evenly.
After inspection, close the empty halves and check for rocking, visible gaps and obvious distortion; confirm the required diameter or circumference with a template or tape. If the result is outside the project tolerance, do not pour.
Check the Joint, Hardware and Column Dimensions
Before the next concrete pour, confirm that both mould halves close fully, lock securely and still produce the specified column dimensions. A sound-looking FRP column mould can distort after transport, uneven storage or hardware being tightened against a misaligned flange.
1. Bring the halves together without forcing them. Check that the split line meets continuously from end to end, with no visible gap, step, chipped edge or trapped debris. A misaligned joint can create a concrete fin or change the column’s diameter.
2. Operate every clamp, bolt, nut, hinge and latch. Replace bent hardware, damaged threads and missing washers; tighten fasteners evenly rather than pulling one section into position. Confirm that the locking system holds the joint closed without crushing the FRP flange.
3. Measure the assembled mould at several points using the project drawing, a template or a dimensional gauge. Check the required diameter and, for a round mould, measure circumference with a flexible tape at the base, middle and top. Differences between points expose ovality that a visual inspection can miss.
4. Compare the result with the specified column size before accepting the mould. If the dimensions are outside tolerance, stop the pour and identify distortion or a seating problem.
Include these checks in your FRP column mould care record, noting the mould identification, measured dimensions and hardware replaced. Do not apply extra release agent to disguise a rough joint; buildup can alter the mould size and print an uneven texture onto the concrete.
Store Moulds Clean, Supported and Protected in Bengaluru
Store each mould only after it is clean and fully dry. This matters in Bengaluru, where monsoon humidity, airborne dust and strong sunlight can damage a neglected storage setup.
- Keep moulds off the floor on broad, level supports that follow the shell’s shape; narrow edges and isolated blocks create long-term point loading and distortion.
- Place split halves face-to-face only with clean, non-abrasive spacers between them. Keep grit, concrete chips and metal hardware away from the mould face.
- Cover the mould with an opaque, breathable sheet to block dust and UV exposure while allowing trapped moisture to escape.
- Leave enough air space around the cover for ventilation, especially during the wet season.
- Restrain curved moulds against rolling, but do not tighten straps across the flange or shell.
Never seal a damp mould inside airtight plastic. Condensation can stain the surface, corrode fasteners and weaken the performance of a repair or release-agent film. Do not stack heavy moulds directly on an unsupported curved shell; the weight can produce creep without leaving visible impact damage.
Good FRP mould maintenance in Bengaluru also means checking the storage area after rain. Remove standing water, dust and bird droppings before they dry onto the cover or mould. If the intended support points are unclear, ask Renuka Fibre Glass which rack arrangement suits that mould’s shape instead of improvising narrow rests.
Related product
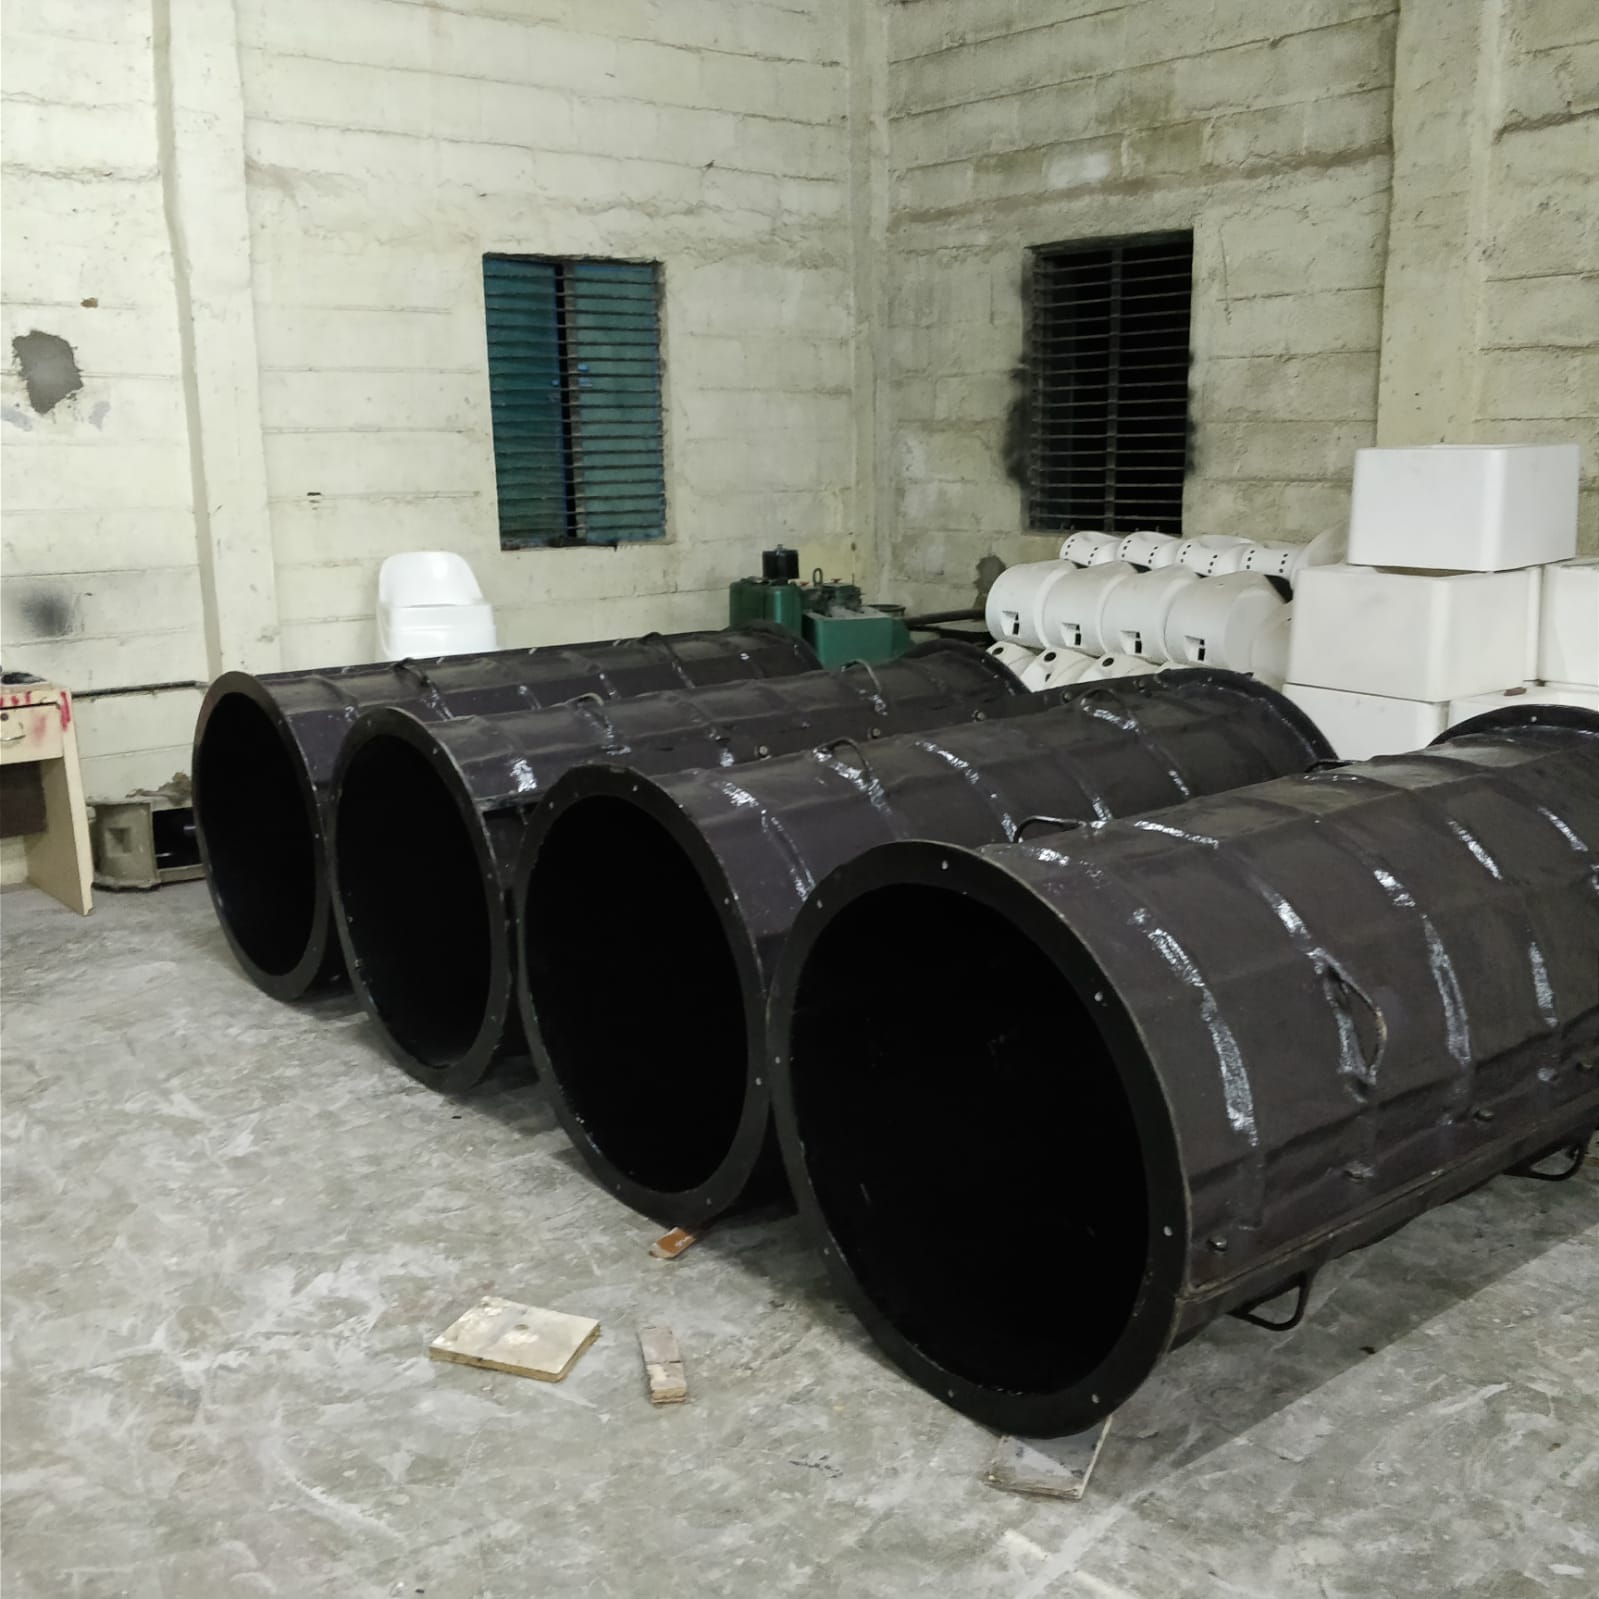 | FRP Column Mould Renuka Fibre Glass is a trusted manufacturer and supplier of high-quality FRP Column Moulds in Bangalore, Karnataka. View product → |
Restore the Release Surface Without Changing the Geometry
A release film belongs only on a clean, dry, sound face. Adding more over cement dust, grease, old residue or standing water can print defects onto the next column and produce uneven release.
1. Inspect the cleaned face under bright light. Remove release-agent residue with water, mild non-abrasive detergent and a soft pad; use a solvent only when the mould supplier specifies it. Test any new cleaner on a hidden area first.
2. Repair only shallow cosmetic damage with resin, gelcoat or a repair kit compatible with the original FRP. Fair the repair flush, cure it fully, then polish or seal it until its texture matches the surrounding face. A ridge, pinhole or rough patch will transfer to concrete.
3. Tag out the mould for structural cracks, delamination, exposed fibres, distorted flanges or lost dimensional control. Release agent cannot restore strength or geometry.
4. Check the split-line seals for cuts, flattening and gaps. Clean their grooves, seat undamaged seals evenly, and replace seals that no longer compress uniformly.
5. Clean and tighten fasteners without forcing misaligned holes. Replace bent clamps, damaged threads and loose washers; do not enlarge bolt holes to make assembly fit.
6. Apply the specified release system in a thin, uniform film after the surface is completely dry. Do not use diesel, used form oil or silicone spray. In frp mould maintenance in bengaluru, let moisture evaporate before covering the mould; trapped humidity harms the finish and hardware.
Frequently asked questions
How should you clean FRP column moulds after construction?
Remove soft cement paste promptly with a plastic scraper, water and a non-abrasive cloth before residue hardens. Avoid steel tools and aggressive abrasion that can damage the mould face.
Which FRP mould marks require repair?
Treat raised residue, deep scratches, cracks, exposed reinforcement and distorted edges as mould-critical defects. Light colour changes or shallow cosmetic marks do not always affect the finished column.
What should you inspect on an FRP column mould?
Check the joint line, bolts, clamps, hinges, alignment and internal diameter or other specified column dimensions. Replace damaged hardware and correct dimensional changes before reuse.
How should you store FRP moulds in Bengaluru?
Store moulds clean, completely dry, supported along their structure and protected from direct sunlight, rain, standing water and construction dust. Keep heavy materials off the mould face.
How can you restore an FRP mould's release surface?
Remove contamination without changing the mould geometry, then apply a compatible mould-release product according to its label. Do not sand through the surface or build up material on edges and joints.
Keywords